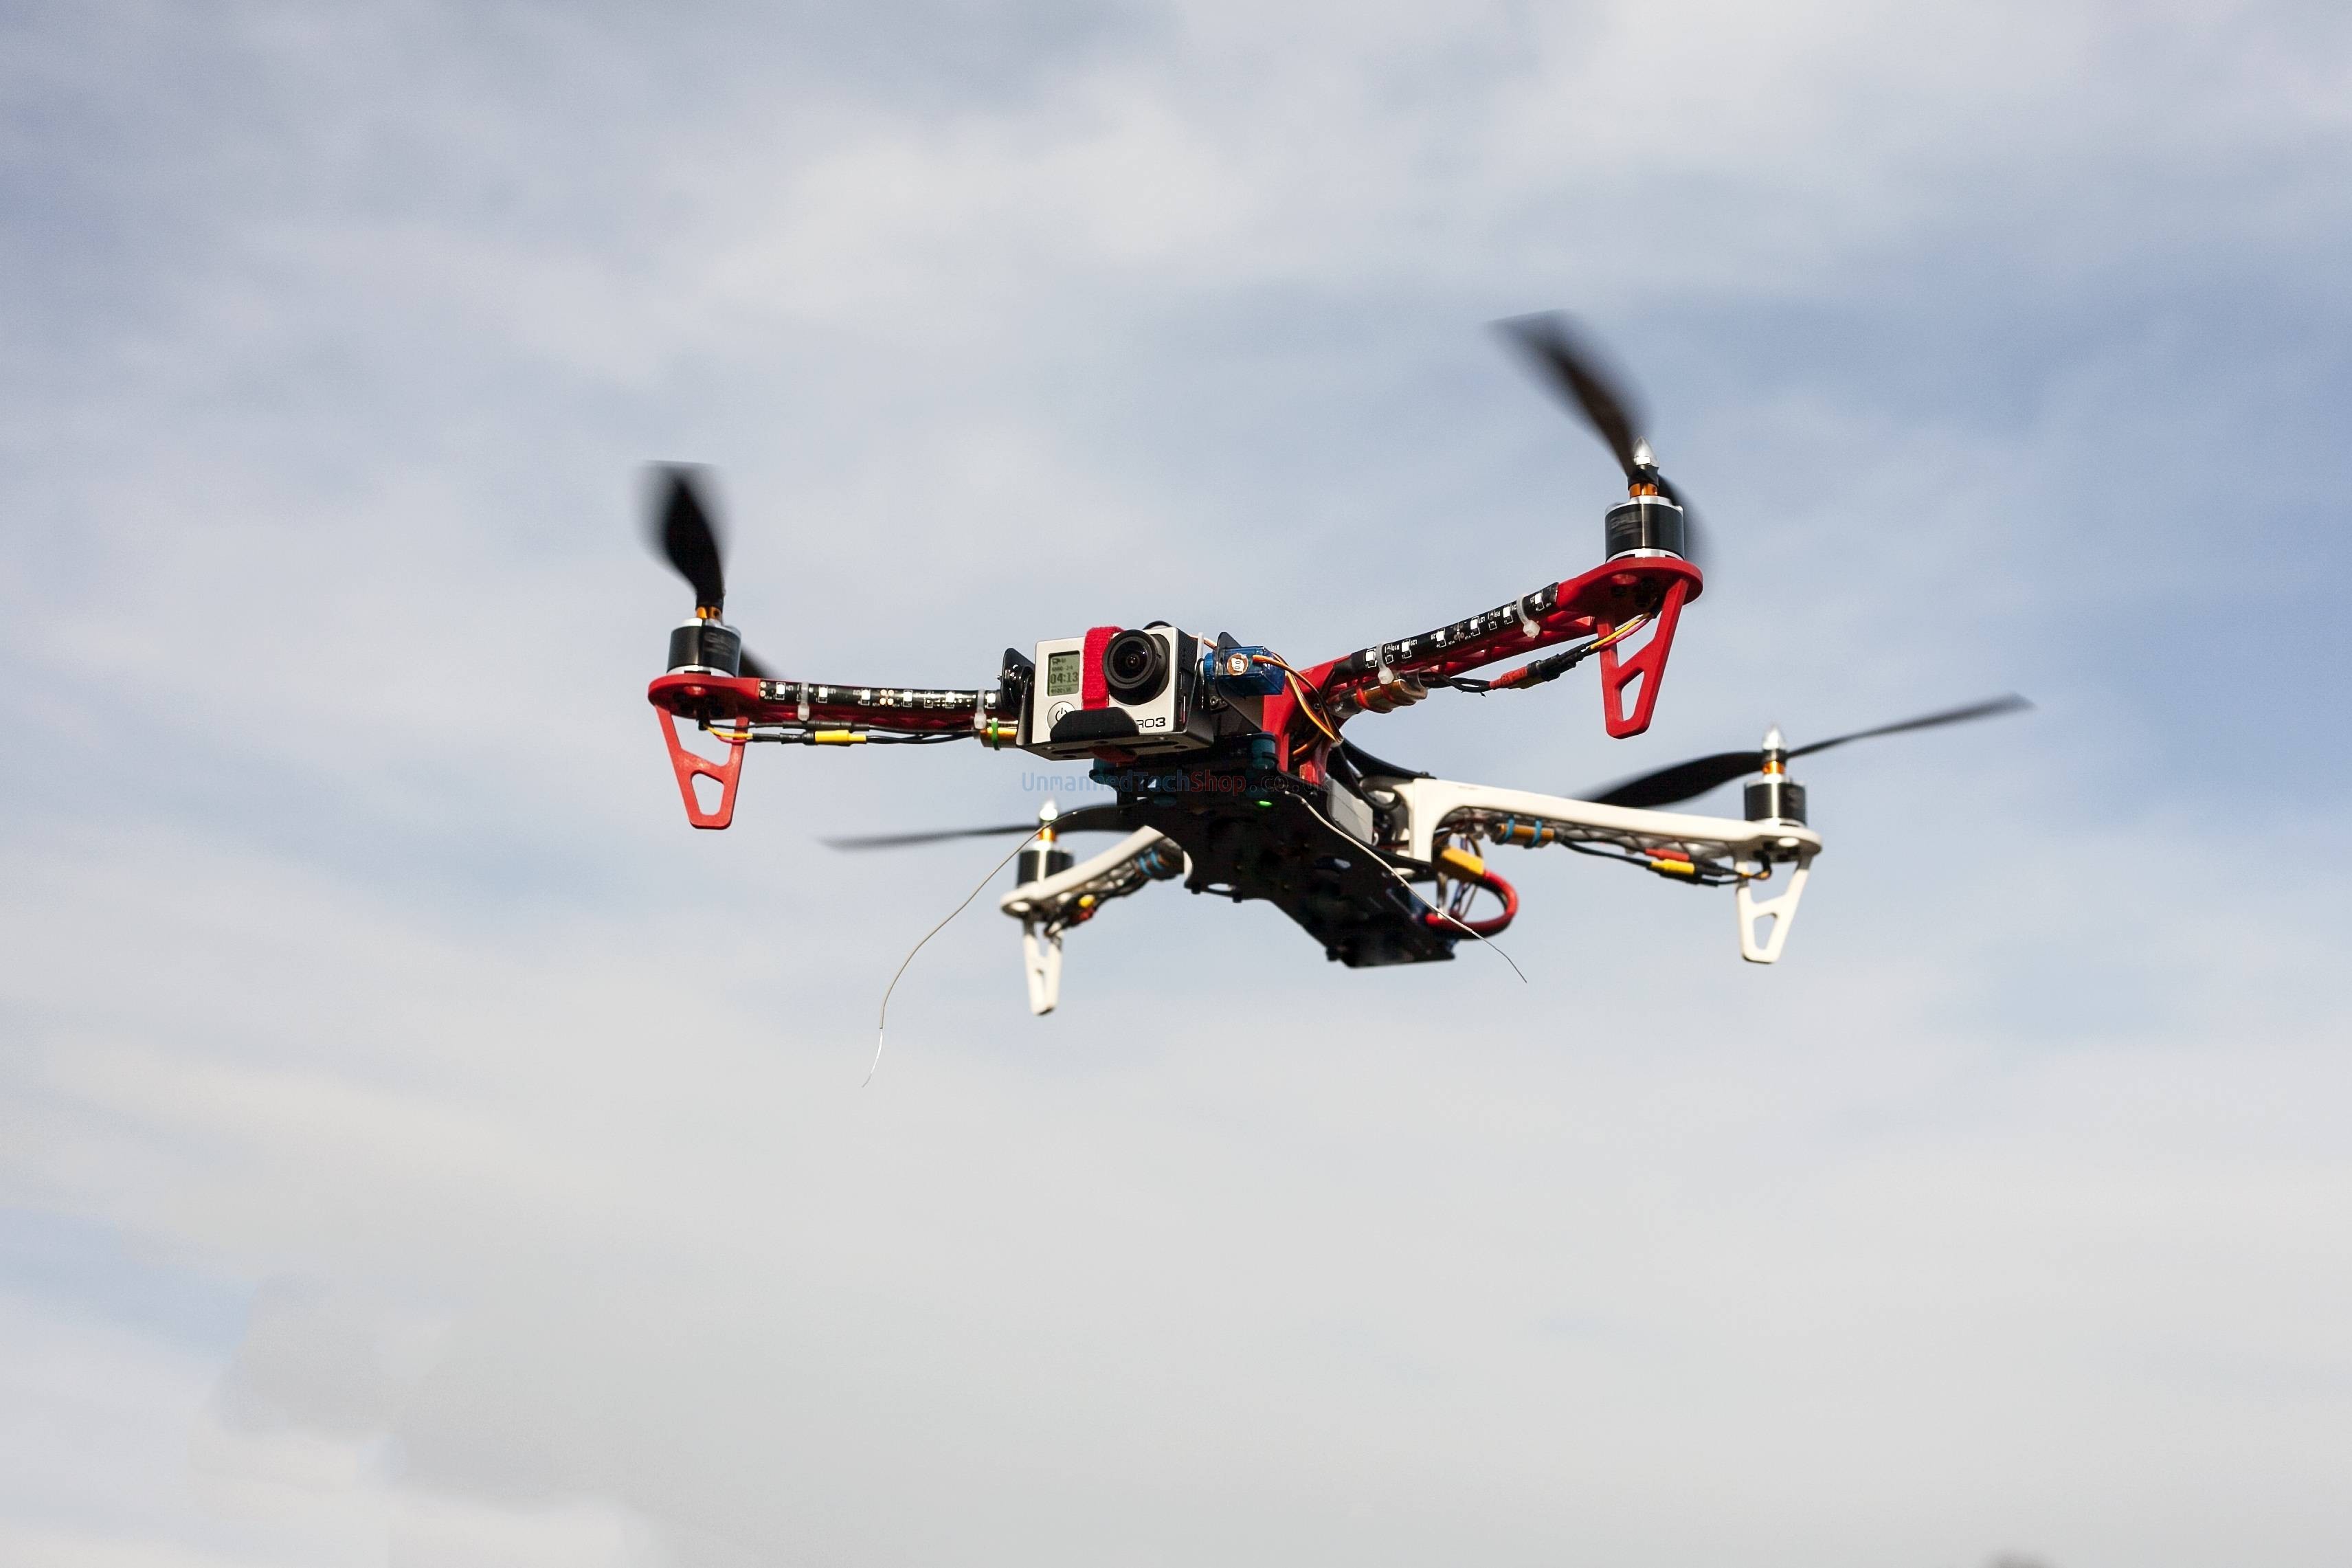
With the new release of the Flycat 4 FPV quadcopter, I figured it will be cool to do a build log trying to create the most cost effective and easy to build FPV setup.
Parts List
The parts list here is just an idea of what things will be usefull for this setup.
Flycat 4 FPV Quadcopter - a nice compact frame designed for FPV with a built in gimbal.
MT2213 Motors - the have a slightly higher KV rating which should make them more responsive for agressive FPV flying, and also nice that they come with 10x45 props!
4in1 20A ESC - for ease of connecting everything together its nice to have a ESC/PDB all built into one!
FY-41AP Autopilot - this was chosen as its very small, and comes with built in OSD which is great for FPV (although personally I dont always like having an OSD)
FPV Gear For the FPV gear I will go with the 25mw TX, with a simple FPV camera along with a receiver with build in monitor on the ground.
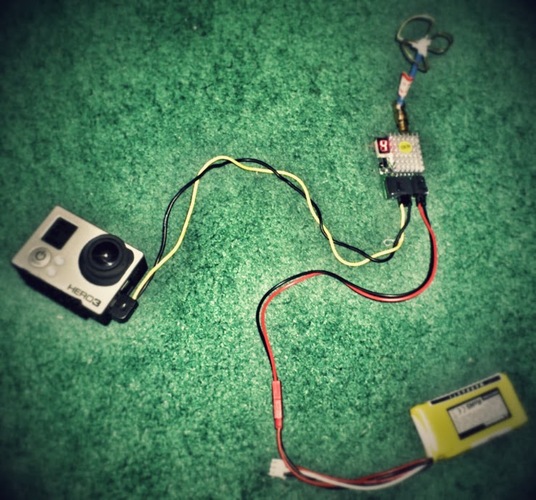
The other option for FPV gear is to use the gorpo camera video feed instead of the FPV camera and use this cable between the GoPro 3 camera and transmitter.
Gimbal Servos
For the gimbal, I will be using the FT4321M servo for roll, and the FT2331M servo for pitch. I am using these servos as they are high speed so should provide great levels of stabilisation compared to some of the cheaper servos.
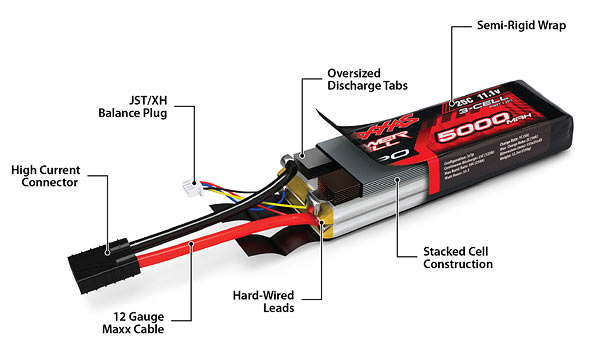
Batteries - For the flight battery I will be using a 4s 4000mah flight battery as the 4s provides extra power and the 4000mah will provide enough juice for decent flight durations.
So thats the basic setup for this FPV quad. If I forgot any parts I will add them above, and also post some progress when I get all the parts and start with build! If you have any comments or suggestions please let me know!
So progress have been very slow due to a lack of free time, but I have made abit of progress by attaching the motors and ESC to the frame… not a big step but still some progress to completing the FPV quadcopter build  .
.
Some things that have changed, due to stock is I am now using UT 850Kv motors, with 10inch props and a new 4in1 ESC that will soon be released over at Unmannedtechshop!
Also an important note with the build is that the screws included with the motors are usualy 5mm long, but this quadcopter frame needs slightly longer screws so I purchased a couple of M3x8 screws off ebay.

Also make sure to use threadlock for motor screws! (all screws to be safe ;-))


I took the bottom plate off to make mounting the ESC a little easier
I have now mounted the FY-41AP and set it all up… next up, flight test!
Overall I was impressed by the simple setup… only a couple things to set like the quad orientation, and the FC orientation! Nothing else to do!
Some tips while doing this step
- If possible I would solder the power module directly to the ESC (unless you plan to use the FY-41AP on another platform like a plane
- Add a longer wire on the power module as the short wire makes it a little akward to connect to a battery once its installed
Picture of the FY-41AP connected with GPS and power module

I mounted the FY-41AP with some the Anti Vibration mount using some double sided tape as shown below. The other parts like my receiver are also mounted with double sided tape. Make sure you use decent quality tape so ensure a secure bond.

I followed the diagram below to connect everything together. ESC wire where connected to S1-S4, the gimbal servos where connected to S7,S8.
To connect the receiver I followed the manual for connected the receiver cable with colours connected as follows
- Black, Red, White Connector -> AIL
- Orange Connector -> ELE
- Green Connector -> THR
- Yellow Connector -> RUD
- Brown Connector -> CH5
- Blue Connector -> CH6

With everything connected my flycan 4 frame is shown below. I will connect up the FPV gear later after the first flight and I am sure everything is working properly.

Just a bit more about setting up the FY-41AP. I had a slight problem getting it to work after installing the drivers as the FY-setting app only seems to work if connected as COM1-9, but since I have connected any Com ports to my PC it was installed as COM26. Fortunately its relatively easy to change and a guide is shown here - Change COM Port for FY-41AP
Once connected its just a matter of choosing the Quadcopter layout (X/+) and just choosing the FY-41AP orientation (a cool feature if you need to mount it at another angle.

Setting up DEVO 10 3 mode switch
To set up CH5 as the FMOD 3 channel switch you will need to go to the Model Menu>Device Ouput>Then select Gear (CH5) and map it to FMOD, and activate it. This will cause the FMOD switch to output to CH5 which is used to change the flight modes on your FY-41AP. A picture of this is shown below.