This is a companion topic for our recent blog post on blog.unmanned.tech
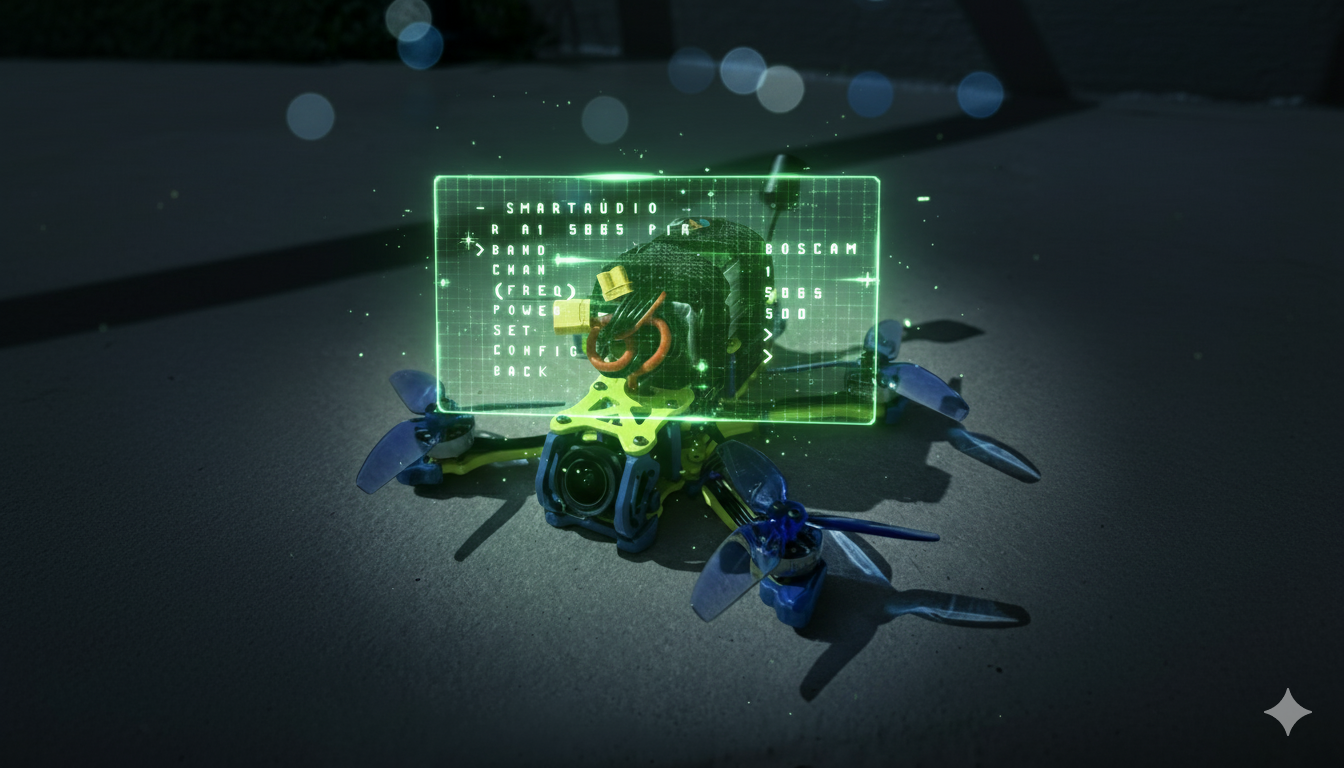
In our latest blog post, we’ve peeled back the layers on SmartAudio VTX control within Betaflight 4.5+. Gone are the days of fiddling with buttons and LED codes—now you can change channels and power levels from your radio, all thanks to SmartAudio. However, navigating this new world isn’t without its pitfalls, so strap in as we guide you through the essentials.
First and foremost, identifying your SmartAudio version is non-negotiable. Think of it as checking the weather before heading out—without it, you might find yourself drenched and regretting your life choices. From there, it’s all about proper wiring and configuring Betaflight to recognise your VTX. Remember, if you wire the SmartAudio data line to an RX pad, you might as well be trying to communicate with a brick wall.
The heart of this sleek setup is the VTX Table, which tells Betaflight what frequencies your VTX supports. If you don’t have the right table loaded, well, good luck trying to do anything useful with your drone. Once everything’s set up, don’t forget to verify the connection by checking the “Device Ready” status in the Video Transmitter tab—if it’s not “True,” you’ve got some detective work ahead of you.
For those who fancy a bit more troubleshooting, we’ve thrown in advanced tips to tackle common SmartAudio issues. Keep in mind that Betaflight 4.5 has sharp teeth when it comes to compliance, so using the custom define USE_NONCOMPLIANT_SMARTAUDIO could save your bacon if things go sideways. Dive into the full guide for all the nitty-gritty details, and may your video feeds be clear and your flights smooth.
Read the full post over at: