This is a companion topic for our recent blog post on blog.unmanned.tech
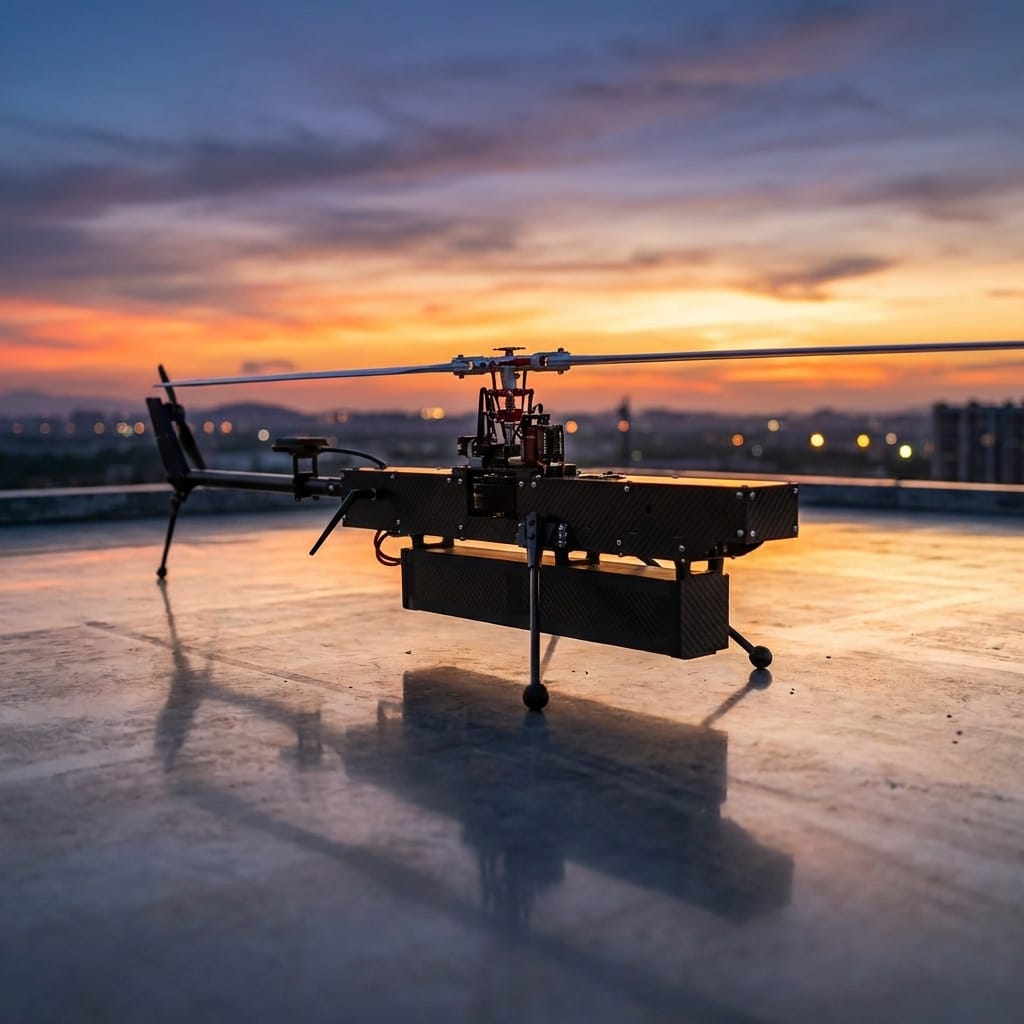
So, you fancy taking your UAV helicopter tuning from “winging it” to something resembling precision? Our latest blog post lays out the ArduPilot AutoTune process in six flights—think of it as a rather methodical dance, if you will. Follow a simple sequence in calm weather, because let’s face it, no one wants their pride shattered by a pesky gust of wind. Start with a wobble-free hover, set your trims, and keep your pitch/roll P&D practically non-existent.
Why bother, you ask? Well, AutoTune can transform your overly twitchy model into something that resembles a reliable flying machine. It’s like swapping a jittery office intern for a well-oiled machine—safer flights await, along with far fewer moments of dramatic flair as your rotorcraft meets its untimely demise.
Now, before you rush off to the skies, make sure you’re fully prepped. A large, empty space is essential—preferably away from the neighbouring cat, who undoubtedly has an eye for mischief. Ensure your firmware is up to date (ArduPilot 4.6.2 or later), because trying to AutoTune on outdated software is a bit like trying to bake a cake without an oven.
For those keen on the nitty-gritty, the AutoTune process splits work into six distinct flights, saving after each landing. If things go awry—perhaps your heli decides to take an impromptu jaunt—you can exit AutoTune before landing, so your settings remain intact. Pro tips? Stick to calm days, and always keep track of your flight number; no one wants to get lost mid-tune.
For the full scoop, waddle over to our blog:

Read the full post over at: