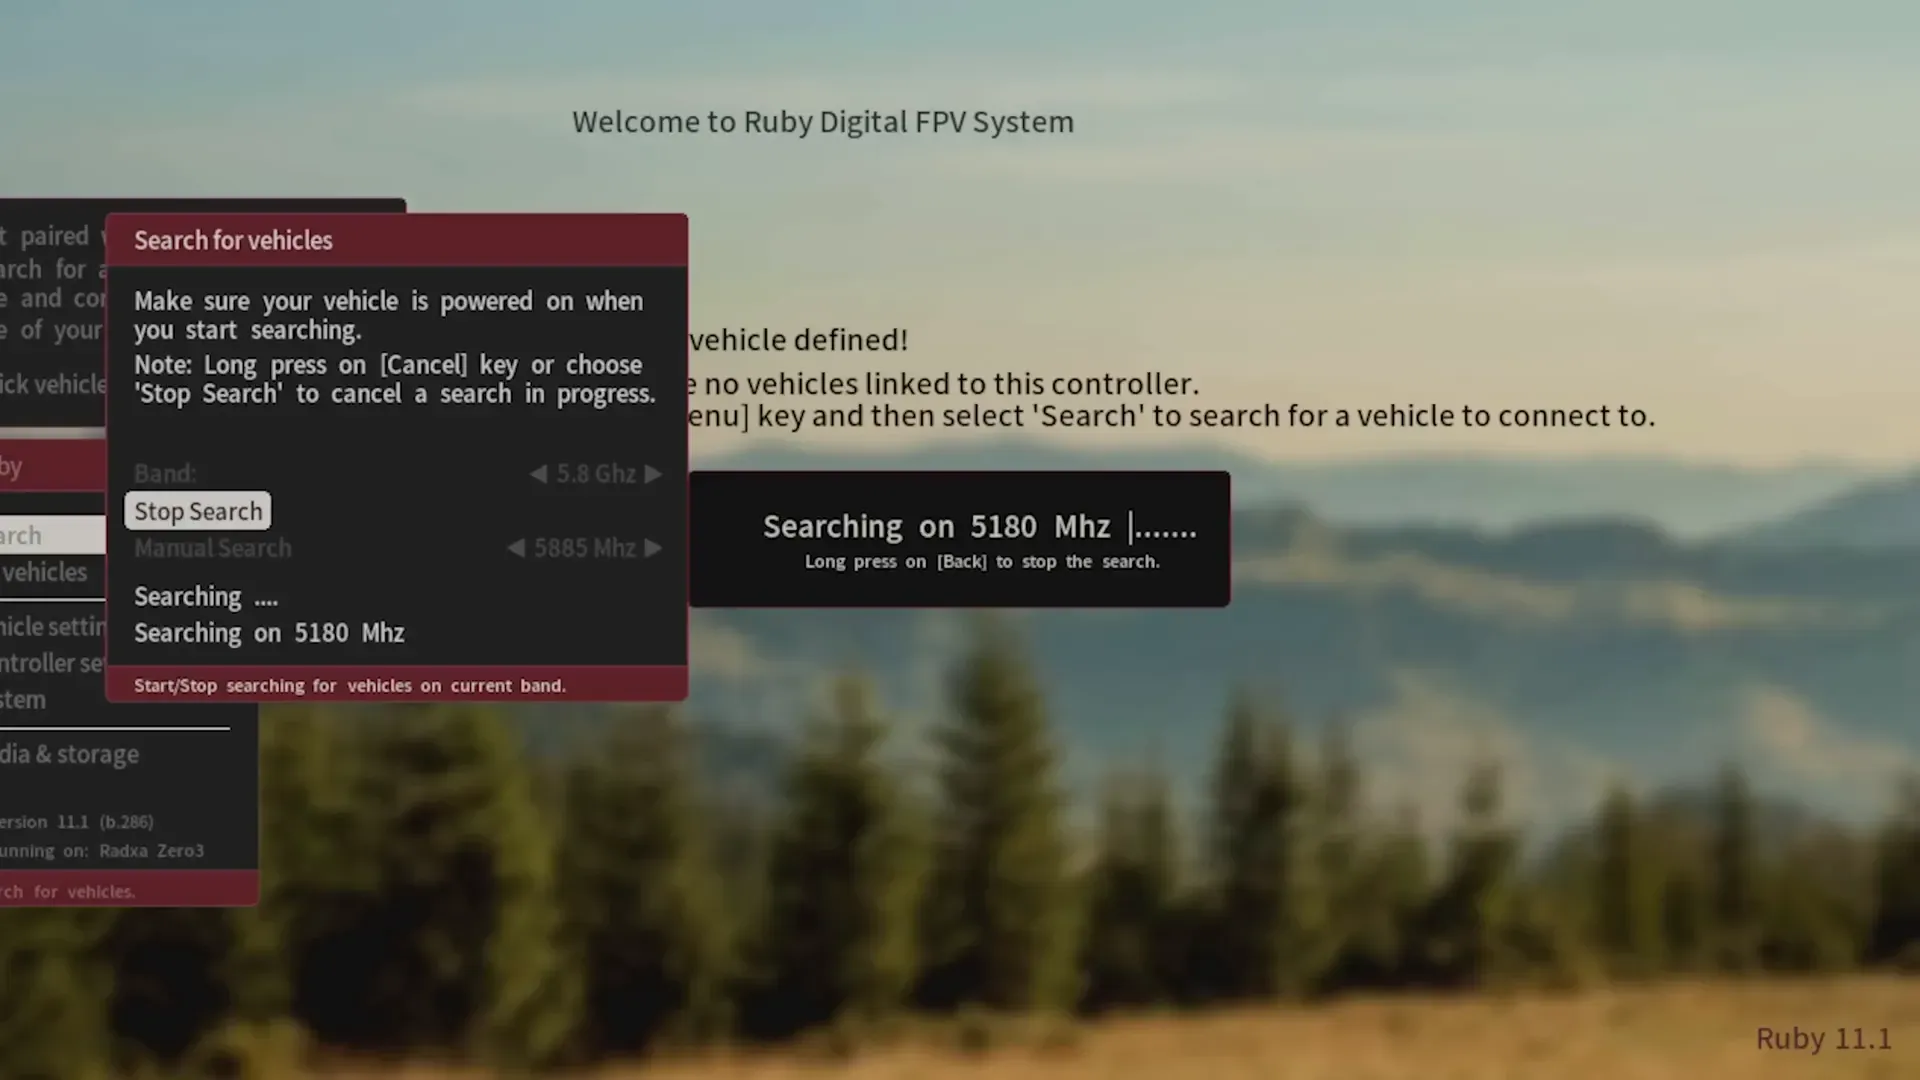
This is a companion topic for our recent blog post on blog.unmanned.tech
Flashing the RubyFPV firmware onto your RunCam WiFiLink v2 might sound like a bit of a faff, but it’s absolutely essential if you want to avoid a performance that resembles watching paint dry. RunCam’s factory firmware is already outdated upon arrival, and switching to RubyFPV offers a more reliable, user-friendly experience. Plus, the added bonus of SD card booting means you can play about with different firmware without risking your carefully configured settings.
Before you dive headfirst into flashing, make sure you’ve got the necessary tools at hand—specifically, the driver and tool archive from RunCam’s Google Drive and the latest RubyFPV firmware image. This guide walks you through the not-so-simple process of installing drivers, entering flashing mode (which requires an uncanny knack for timing), and finally flashing the firmware itself. Just a tip: don’t load the ZIP file into RKDevTool unless you fancy a silent failure.
Once you’ve successfully flashed RubyFPV, setting up the Betaflight OSD and tuning your channels becomes critical to getting the smoothest digital FPV experience possible. And if you’re ever left scratching your head with a blank OSD, just remember that RubyFPV likes to count serial ports starting from zero—so serial two actually corresponds to UART three. A minor detail, perhaps, but certainly enough to drive one to distraction.
For those who prefer a visual walkthrough, there’s a helpful video available here:
Happy flashing, and may your video feeds be ever clear!
Read the full post over at:
