Just bought the Summer 3-axis Brushless Gimbal and need to know the workings of the charger that comes included in the kit? Then this is the place to be.

The Setting
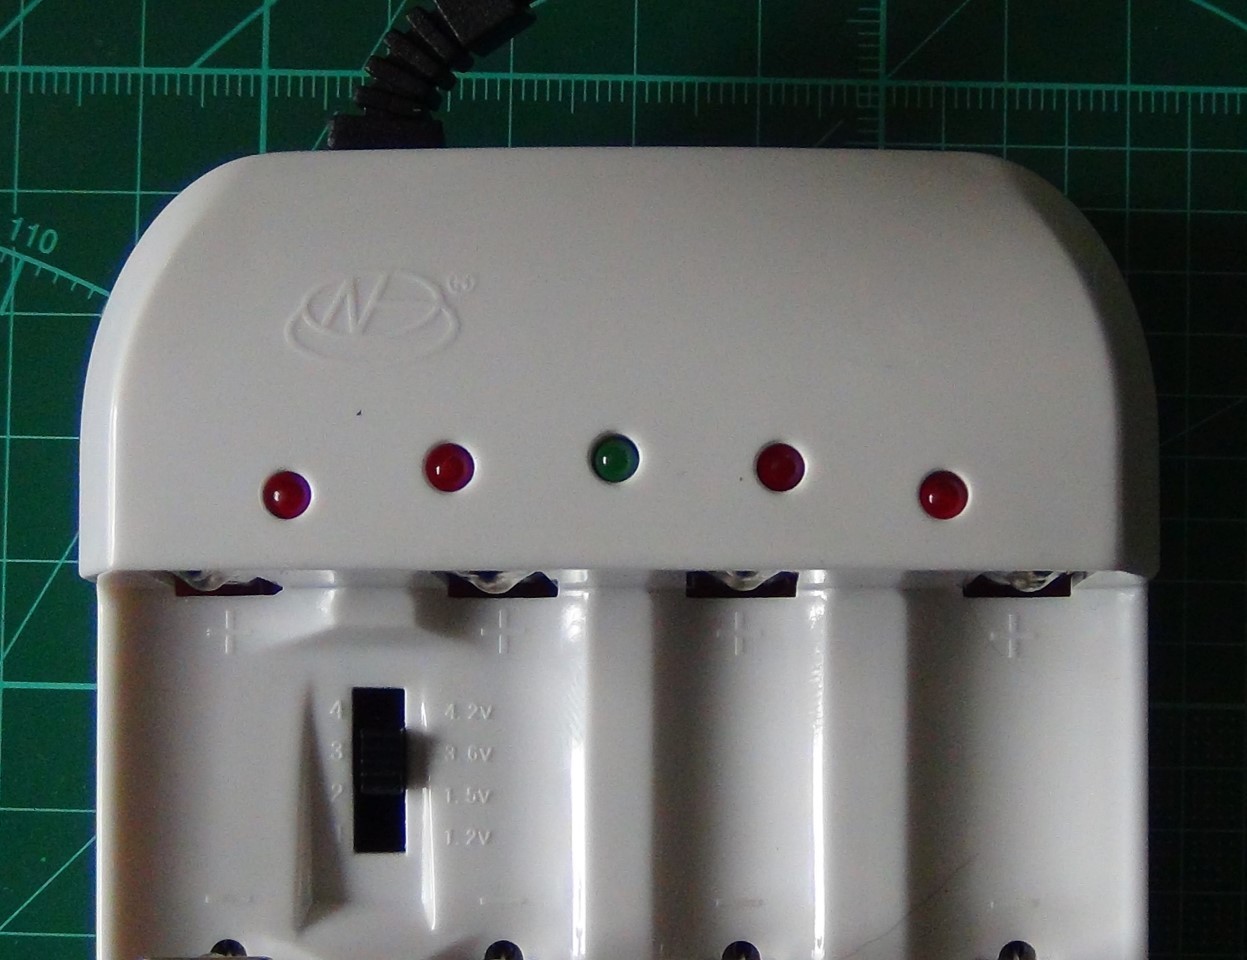
First things first, the setting your charger should be on. You will see that there are four settings of your charger, each corresponding to 1.2V, 2.4V, 3.6V and 4.2V. The recommended setting for charging the batteries that come included with your Summer gimbal is setting 4, for 4.2V.
The LEDs
Secondly, what do the LEDs mean? Here is a biref summary of what to expect when charging your batteries:
- The green light in the middle of the charger will go on when the charger is plugged in.
- There are 4 batteries, and 4 red LEDs; each battery has their own red LED.
- When you insert the battery and the charge is low, the red LED will be dim.
- The red LED will become brighter as the batteries becomes more charged.
- The red LED will go out once the battery to which this light corresponds is fully charged.
And there we have it, a quick guide to the charger included in with the Summer 3-axis Brushless Gimbal.