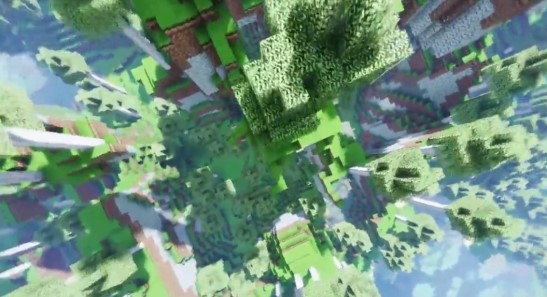
Its not that new, but I stumbled across this post on reddit about a fun FPV mod for Minecraft. It looks super nice when you use it with RTX shaders:
https://www.reddit.com/r/fpv/comments/10ki09m/im_surprised_there_is_an_fpv_mod_for_minecraft/
How to install MineCraftFPV
While Minecraft is best known for its creative aspect, where players can build structures, explore and have adventures, it can also be used as a flight simulator. In this article, we will be discussing how you can use Minecraft as an FPV (first-person view) drone flight simulator.
Step 1: Ask for Minecraft username and password
The first step in using Minecraft as a drone flight simulator is to ask your children for their Minecraft username and password. If you have children who play Minecraft, they may already have an account that they use to play the game. You can ask them to share their username and password with you so that you can access their account and start using the game as a drone flight simulator.
Step 2: Install Minecraft
The next step is to install Minecraft on your computer. If you don’t already have Minecraft installed, you can head over to the Minecraft website and download the latest version for your computer. You will want to download the Java version of the game as this is the one that uses the mod that we will be installing in the next step.
Step 3: Download CurseForge
CurseForge is a program that makes it easy to install mods, such as the FPV flight simulator mod, into Minecraft. To download CurseForge, you can go to download.curseforge.com and download the latest version for your operating system. CurseForge is a free program that you can use to add mods to Minecraft.
Step 4: Create a profile in Curse Forge
Once you have CurseForge installed, you will need to create a profile in the program. To create a profile, you will need to select Minecraft version 1.16.5, which is the latest version that the FPV mod currently works with. To create a profile, simply click on the “Create” button and you will have a profile ready to add mods to.
Step 5: Search for the FPV mod
The next step is to search for the FPV mod. To search for the mod, you will need to click on the “Add Content” button in CurseForge and then search for the FPV mod. You should see the “Minecraft FPV Mod” appear in the search results and you can click on the “Install” button to install the mod.
Step 6: Launch the game
Once the FPV mod has been installed, it’s time to launch the game. You can do this by clicking on the “Play” button in CurseForge and make sure that you are running the Minecraft Java version. When you launch the game, you should see that the mod has been installed and is ready to use.
Step 7: Grab a drone remote controller
The next step is to grab a drone remote controller. You will need a remote controller to control the drone in the game. A good option is a DJI FPV remote controller, which can be connected to your computer and calibrated in the game. Once you have the remote controller connected, you can go to the “Options” menu in Minecraft and click on the “Controls” button. You will see a new button called “FPV” and you can click on it to calibrate the controller.
Step 8: Fly
Once you have calibrated the remote controller, it’s time to fly. To fly, you will need to create a new world in Minecraft and use the remote controller to control the drone. At first, it may feel a bit floaty and the scale and gravity may be off
Step 9: Practice and improve your skills.
The more you play, the better you will get. You can try different modes and maps to improve your flying skills. You can also challenge your friends and compete against each other to see who is the best pilot.
Step 10: Have Fun
Minecraft is a game meant to be enjoyed, and the fpv drone flight simulator is no different. Whether you are playing alone or with friends, you should always have fun. If you ever get frustrated or stuck, take a break and come back later.