This is a brief guide for those of you who would like some tips on the build of the large vibration damping mounting set for Pixhawk etc.
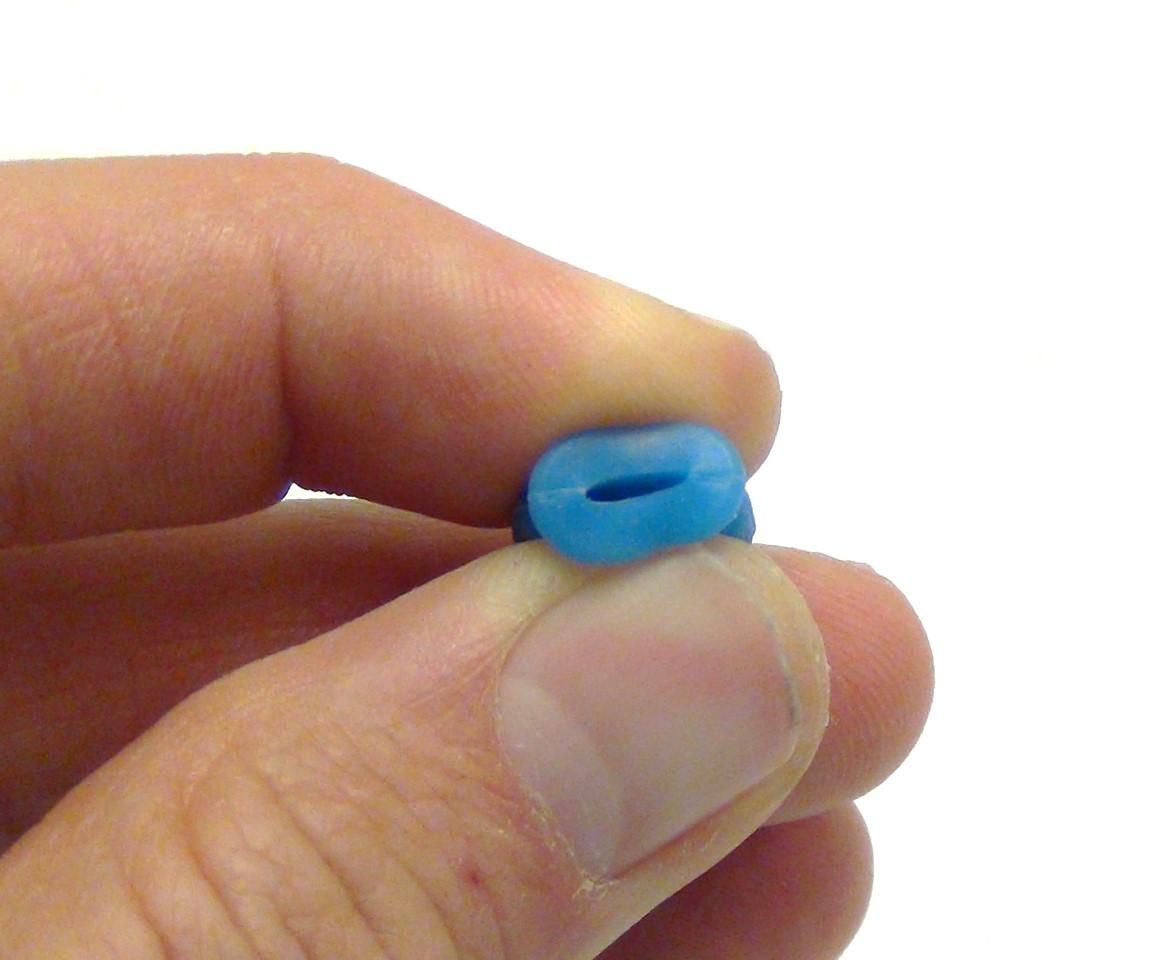
To insert the blue damping balls, I find it is useful to first attach all four balls to the smaller of the plates. Do this but squeezing the rubber balls along the seam in the ball, in the way shown in the picture below.
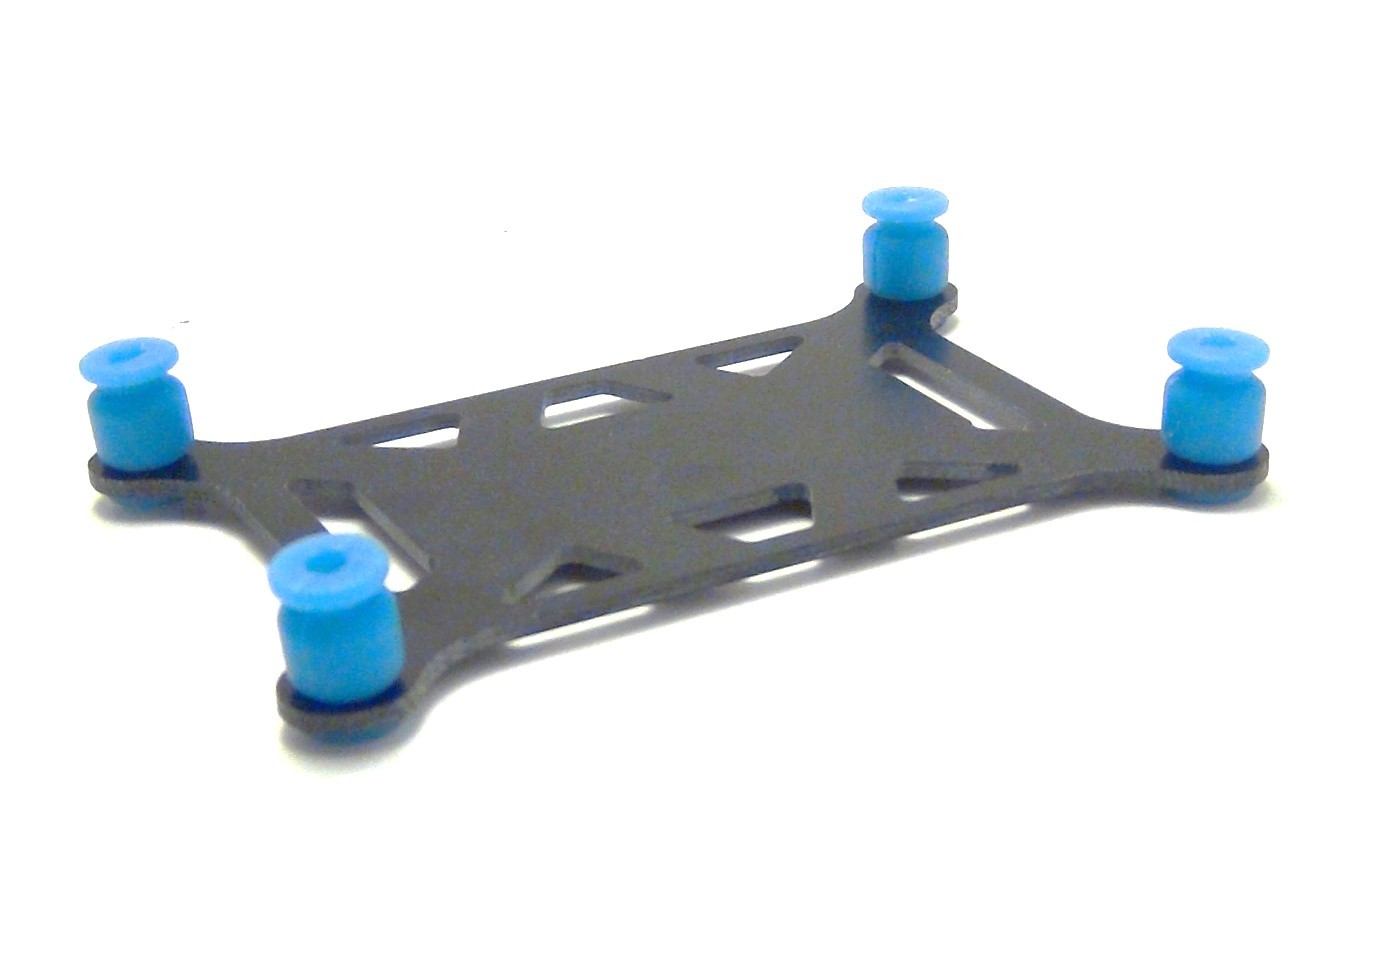
You then insert one of the squeezed ends into the rubber damper ball holes on the smaller plate and pull the top of the ball through to the other side; this may take a bit of persuasion but it will go. Then repeat for all four balls and you end up at this stage:
You now need to attach this smaller plate to the bigger one. To do this, the balls are going to be slightly skew in order to fit but this is how it is meant to be. You attach the balls in exactly the same manner as before, and you get the result shown in the picture here:
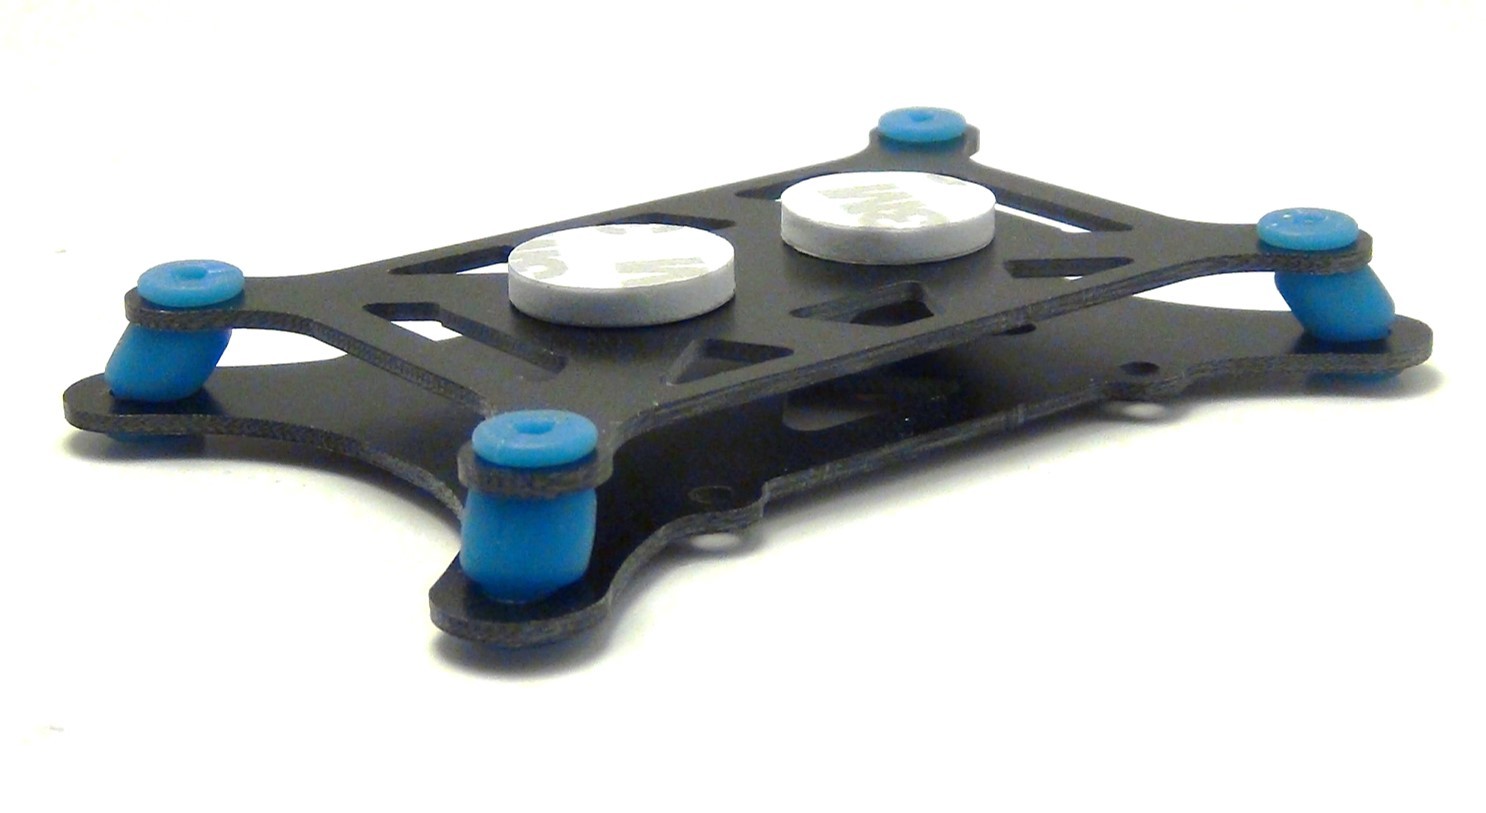
You can see the slight skewness of the balls, but as I said previously, this is the design of the mounting set.