Hi. I’m just about to start a build log for the Emax Nighthawk X5 airframe. My aim is to build a good quality FPV racer drone and so I’m gonna choose high quality equipment so that I can get a nice speedy, reliable quad. I’m pretty new to this field and so I am sure I will make a few mistakes along the way but that’s all part of the fun right? So, keeping in mind my objective, here’s the equipment I have chosen to use:
What I’m Using
-
The Emax Nighthawk X5 frame
This frame looks to be a really nice frame for a FPV racer. It’s compact and all the components are contained in the centre of the frame, giving it nice balance and good reactions.
-
RS2205 2300Kv motors from Emax
These motors are basically the best around I think for the performance and the price. Lots of thrust to play with.
-
1300mah 45C 3S LiPo Battery/1300mah 75C 4S LiPo Battery
Here, I will first be using the 45C 3S battery as I have one laying around and I need to improve my flying skills before venturing out into 4S territory. However, the plan is to eventually use the 75C 4S battery as this will give me more thrust and power.
-
4 x Cicada BLHeli_S 30A (2-4S) ESC
I’m gonna use the BLHeli_S ESCs as the BLHeli_S firmware gives you a smoother motor response (check out more details in the What is BLHeli_S article). I am also going to use 30A ESCs as I eventually want to use a 4S battery (as mentioned above) and so I need this ampage. Check out the articel we have on How to Choose your motor/props/ESC for more information.
-
The SPRacing F3 Evo Flight Controller
This is a great flight controller for an FPV racer drone. It’s cheap, it hosts the new generation of CPU and sensors and it was designed by the Cleanflight creator, Dominic Clifton. This flight controller also has a black box micro SD card reader along with a race timing transponder so a pretty good choice I feel.
-
The Taranis X9D+ Radio Control and X4RSB Receiver
This is a great radio. Pretty simple but true as I am sure most people will agree with me. It’s reliable and has got all the knobs and buttons needed and you can basically use it for all your drone needs. I’m gonna use the X4R receiver but you can choose any number of receivers such as the XSR or the L9R, X8R. However due to the limited size on miniquad frames, its best to stay away from the X8R and L9R as they are abit too big to fit comfortably on these frames.
-
The Runcam Swift Camera and Flysight TX525 Video Transmitter
This is the FPV gear I have gone for. I think the Runcam Swift has proven itself with its popularity and quality and the transmitter from Flysight will do a great job. I will also use a TBS Triumph Antenna to improve the range.
So they’re the main components and I just need to get on and build it now. I will post my process stage by stage until we hopefully have a fully built Nighthawk X5 FPV drone!
As always, comments always welcome.
1 Like
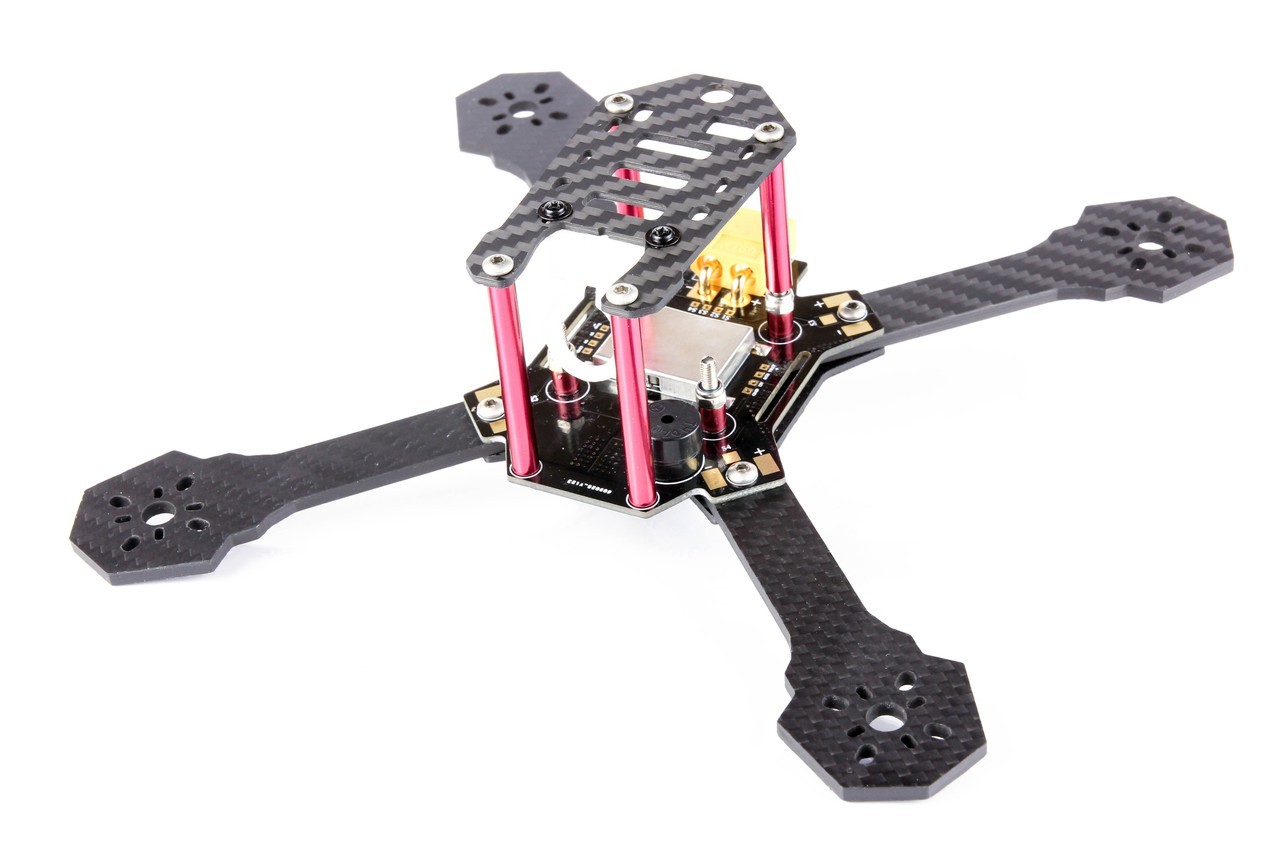
So today I started the build and I just wanted to put together the frame so I could see what’s what and to try and foresee any problems in the main build.
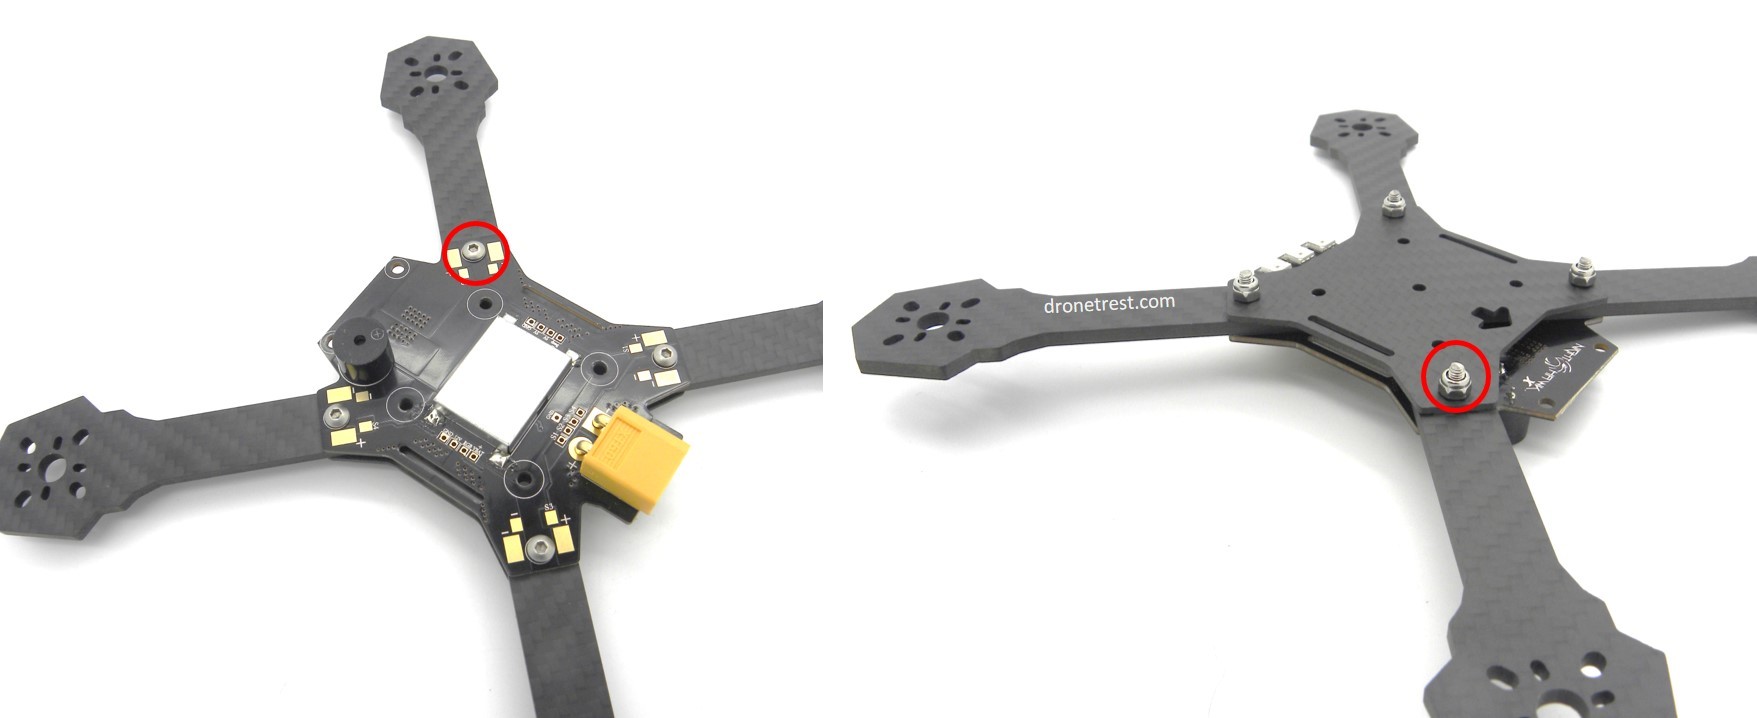
##Securing the arms
You get a useful build manual in the Nighthawk X5 kit so I basically just followed this with a few minor adjustments. Firstly, when I was attaching the arms, the instructions told me to put the screws in from the bottom up. I decided to do the opposite though as you can see above as I think it looks neater and when the battery attaches to the bottom later, the protruding screws might offer some additional support. I’ll let you know if this was a bad idea later…
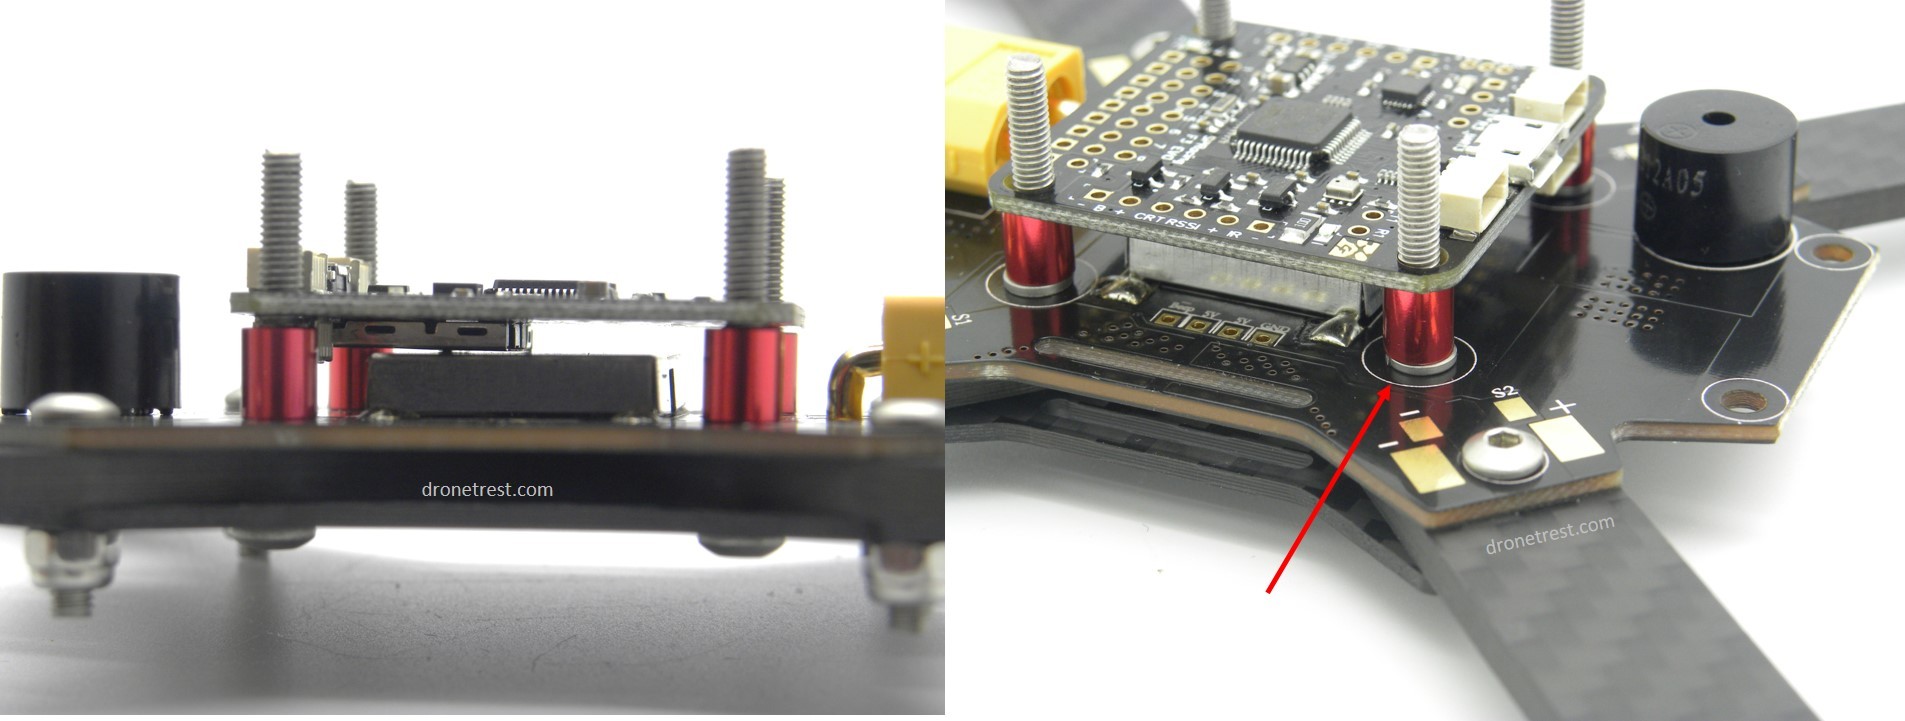
Securing the flight controller
I am using the SP Racing F3 Evo flight controller and I encountered a problem mounting it on the spacers; the SD card holder meant that the FC wasn’t lying level - not good. I therefore just added some washers before the spacers to add that bit of extra height and the problem was solved. Alternatively, I could have mounted the FC upside down but I had these washers lying around so preferred this option.
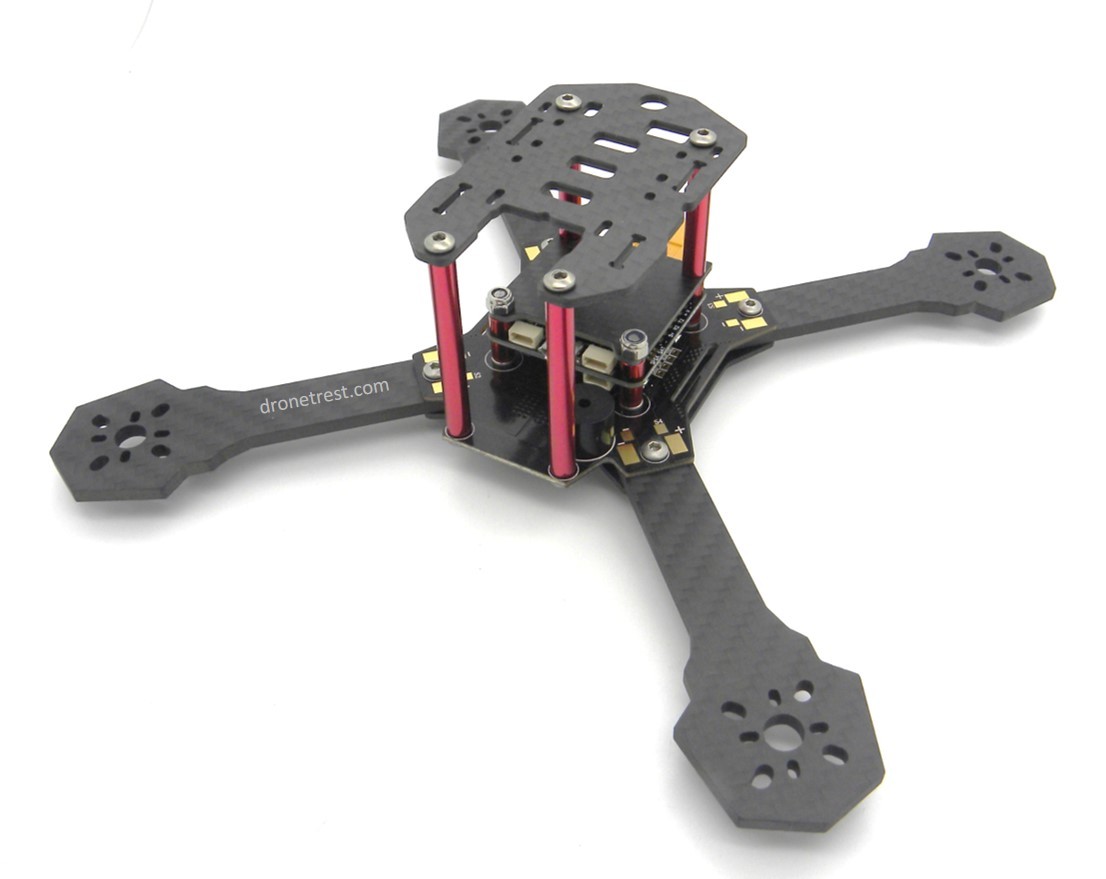
After this, all went smoothly so I completed the frame build…
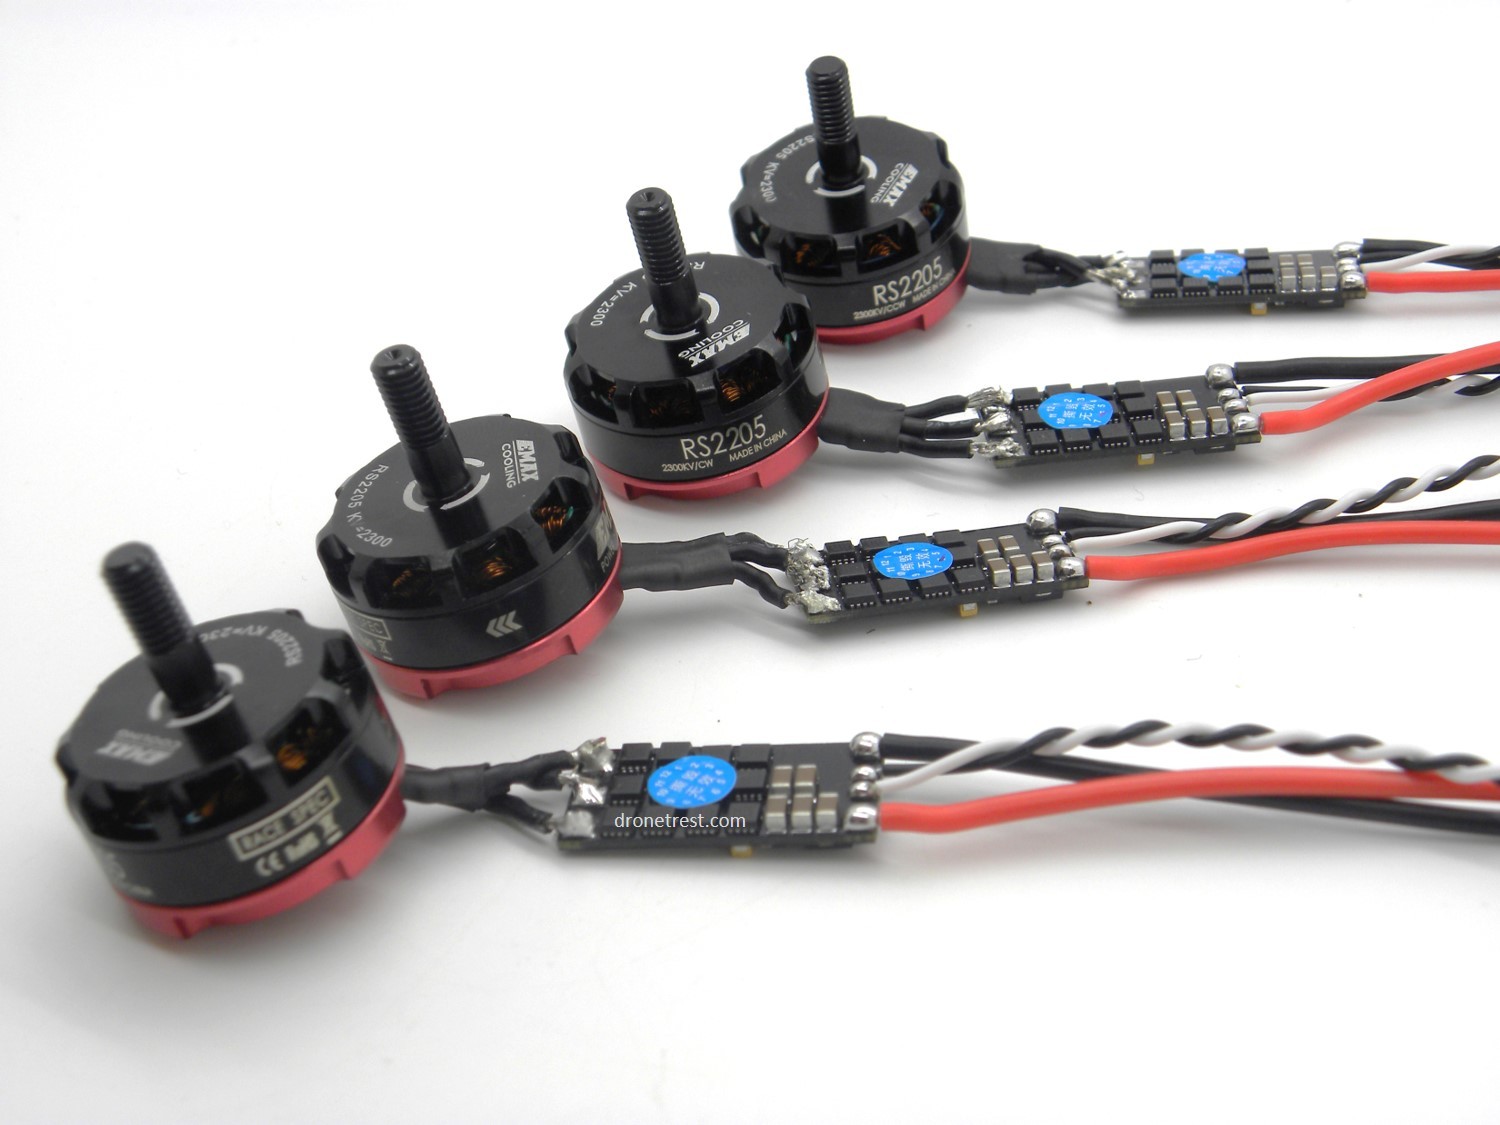
Connecting the motors to the ESCs
So today I soldered the motors onto the ESCs as you can see above. I only encountered a small problem when I realised I had soldered one motor incorrectly (so it was spinning in the wrong direction) but apart from that all when smoothly. I checked the motor spin direction using the guide on this subject just to make sure.
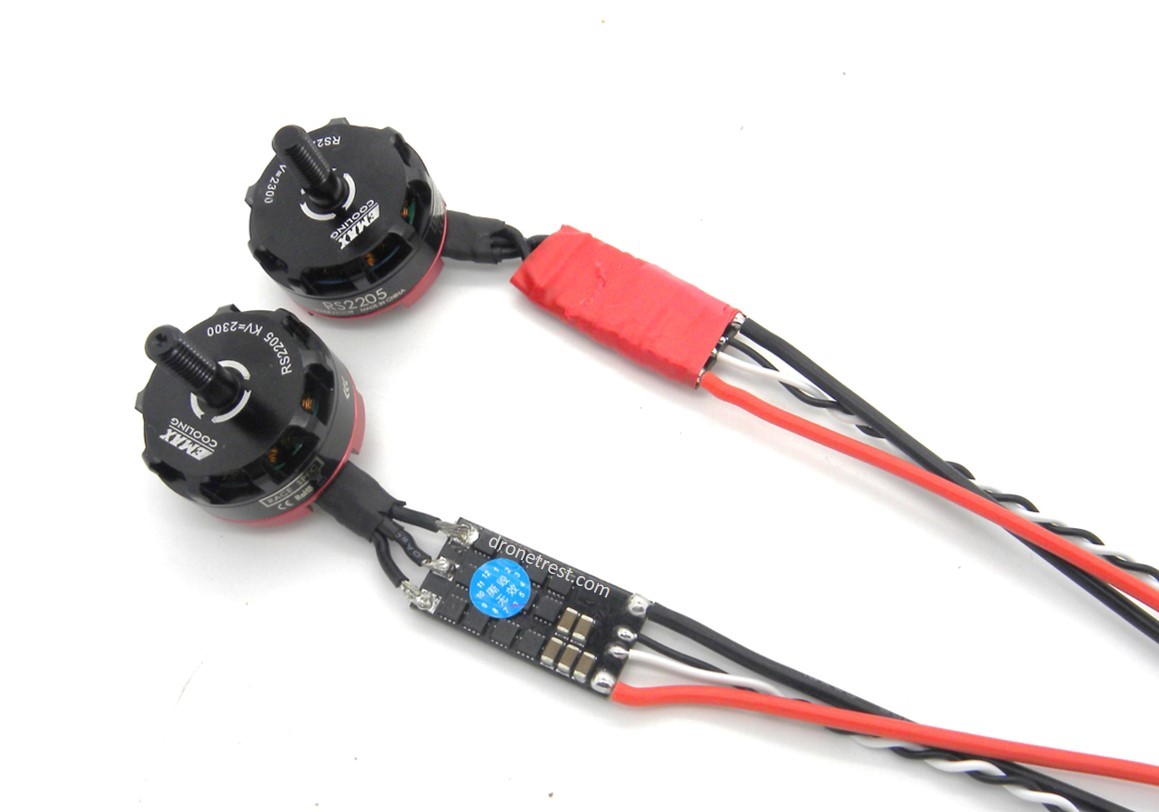
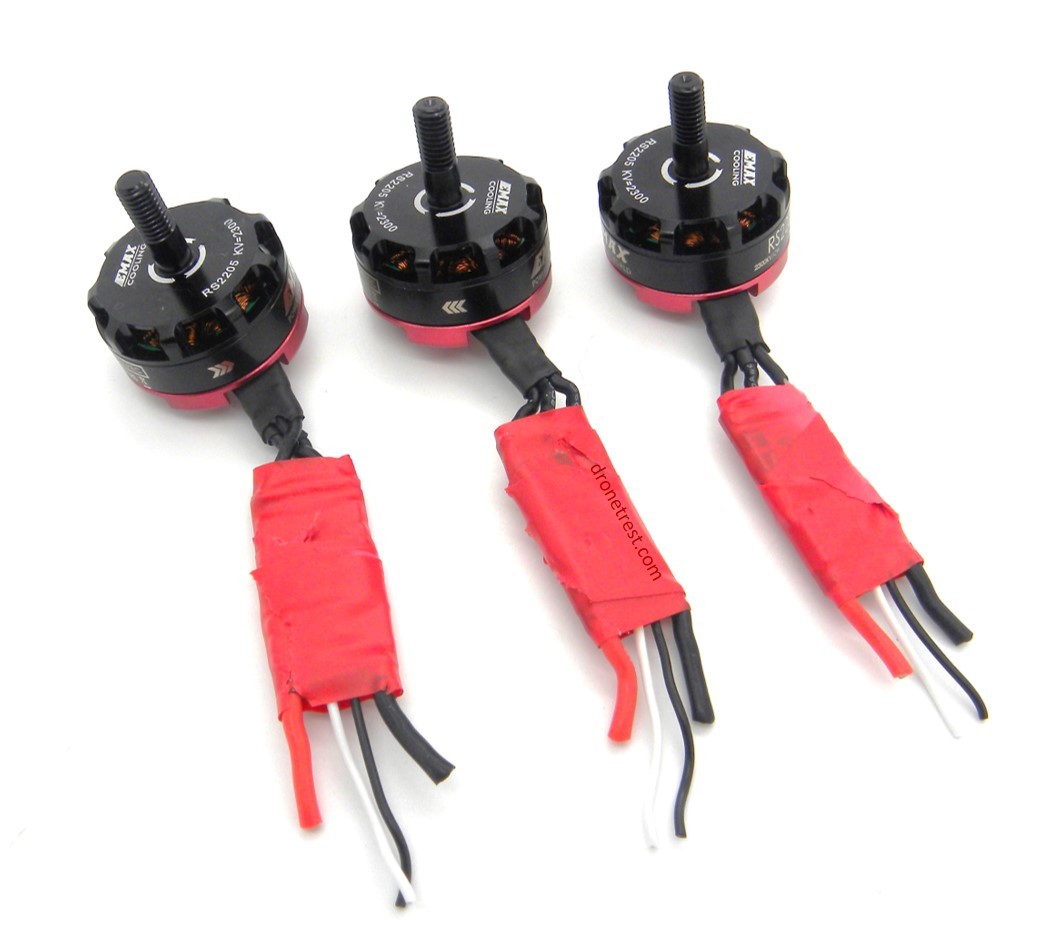
After I had done this, I encased the ESCs in electrical tape…
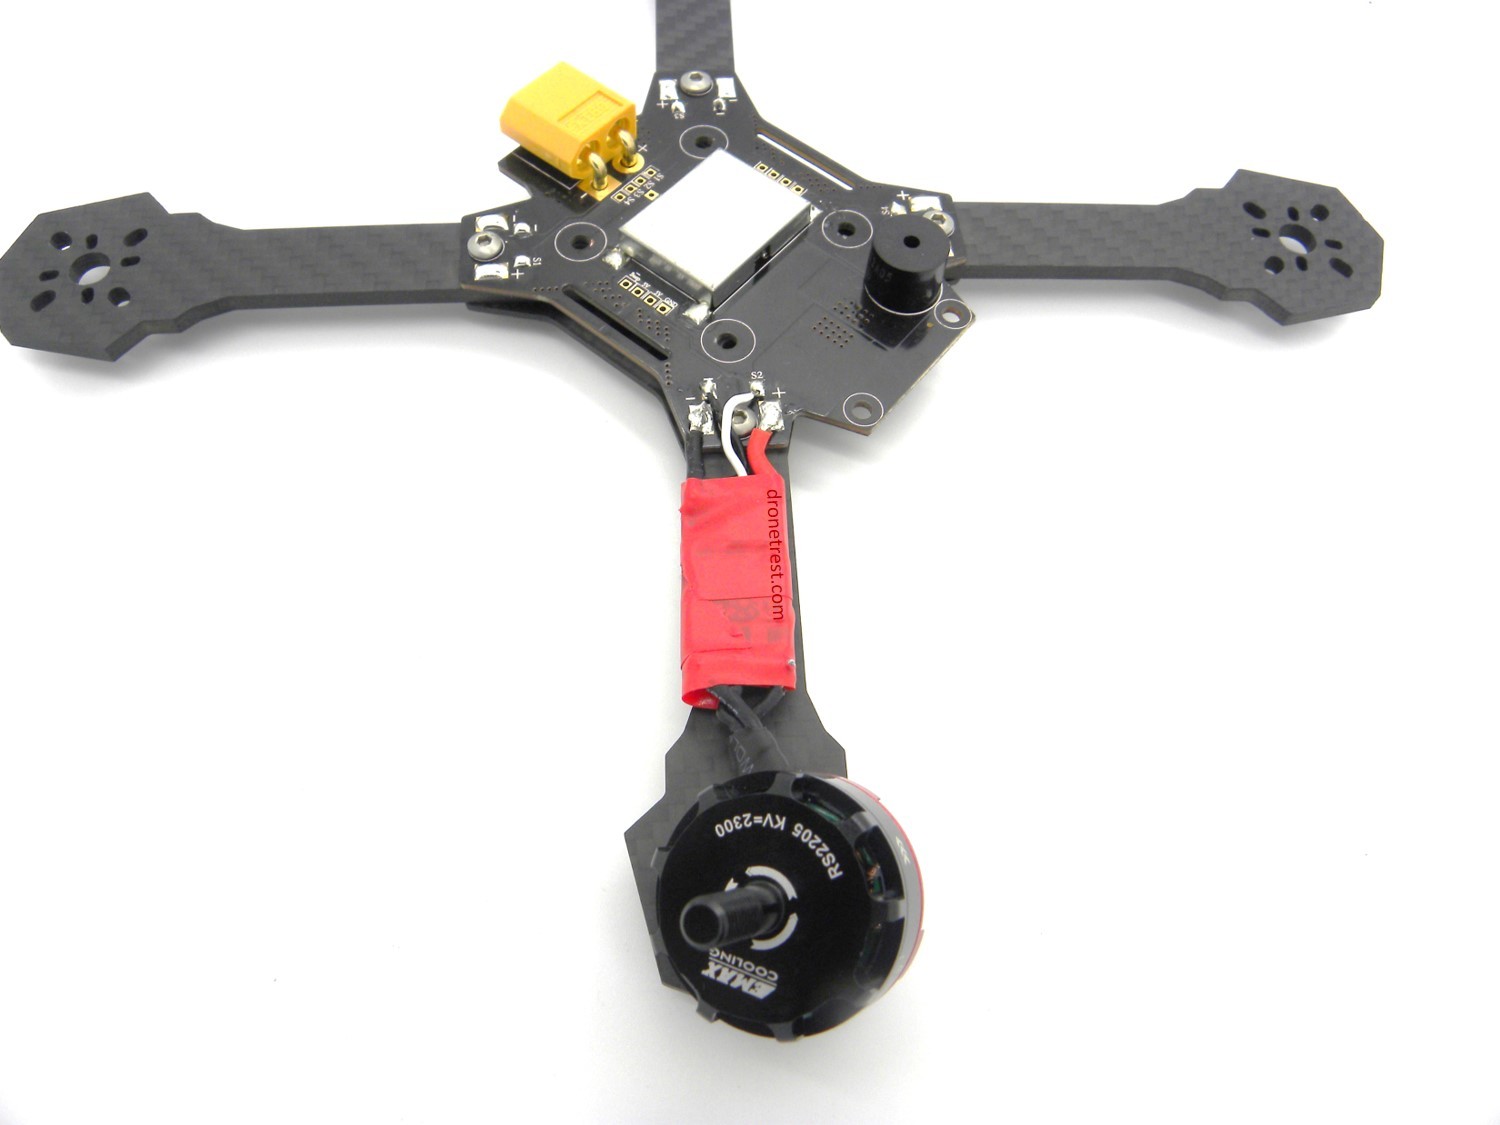
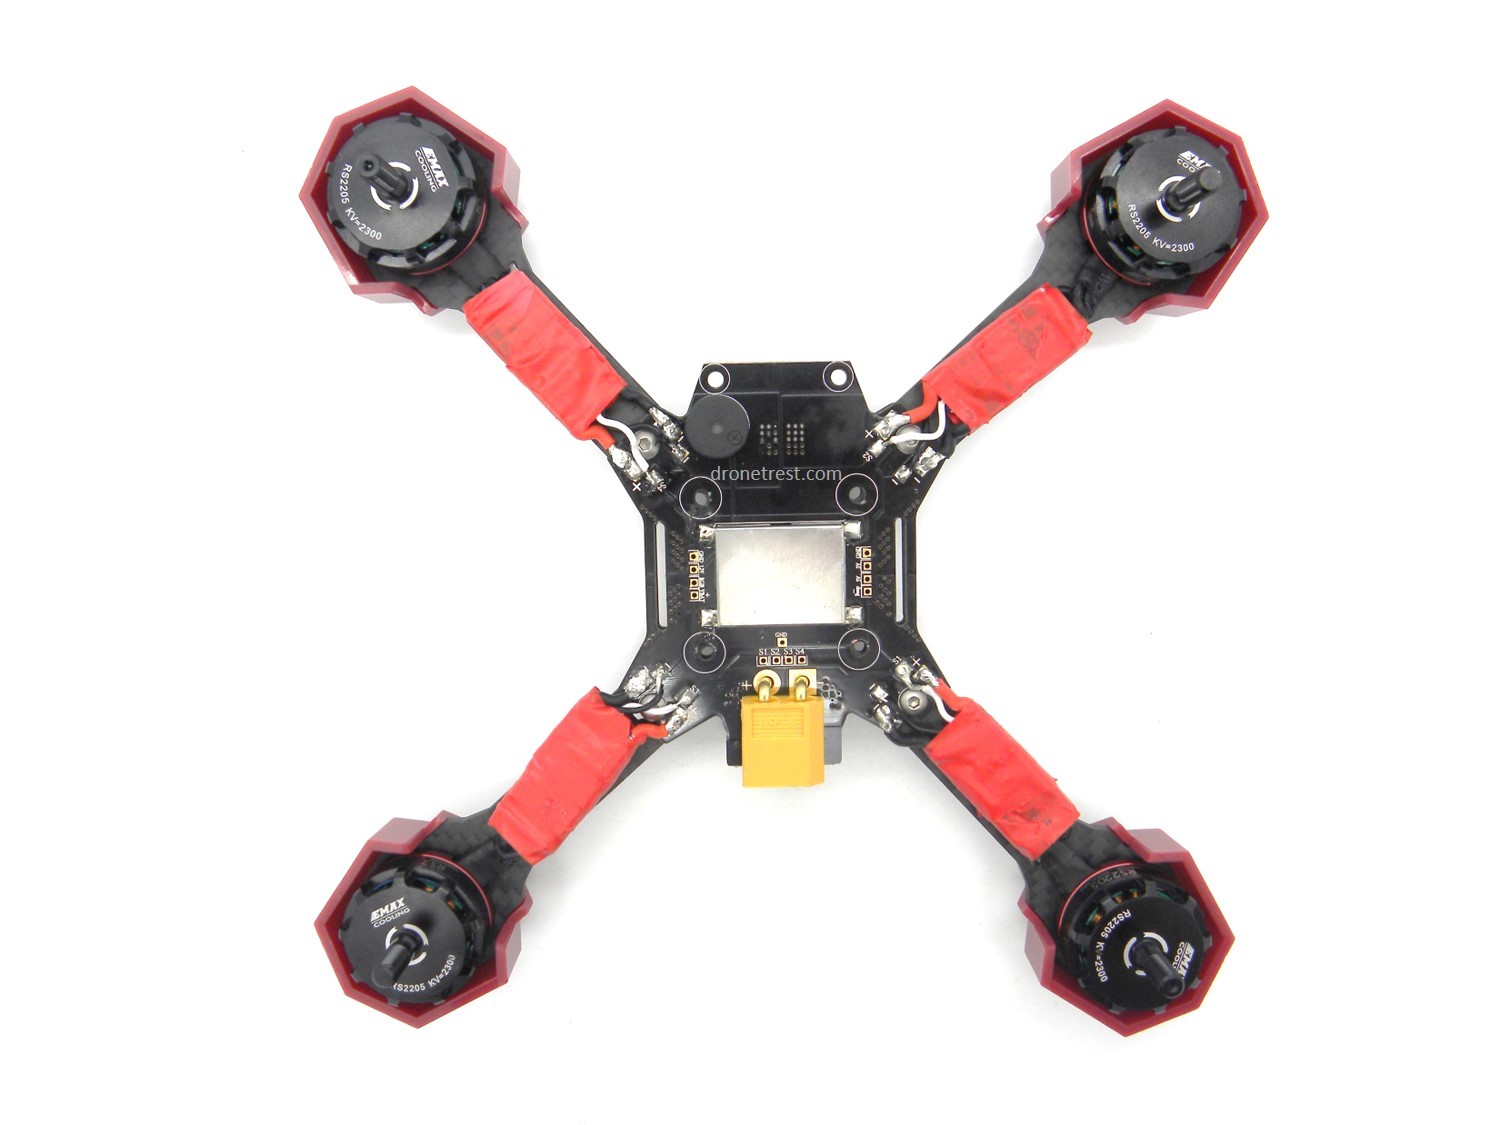
So, on to soldering the ESCs to the PDB and attaching the motors to the frame. This is a small frame so I had to cut the ESC wires down pretty far…
…and then solder them onto the pads on the PDB.
P.S. don’t look too closely at the soldering here - I had a bit of an issue with the nib of my soldering iron and was therefore working with an insufficient tool (what’s that saying about a bad workman again…?).
I then secured the motors to the frame along with the motor protection mounts provided in the Nighthawk X5 kit.
Update
So, in the course of building this kit, I did, unfortunately, neglect this build log. I am pleased to say that I have now completed the build and the guide and so you can peruse this if you so wish. We are now selling the complete kit for this build under the title Nigthhawk X5 DIY RPV Racing Quadcopter Kit (bit of a mouthful I know but it gets the job done).
Conclusions
Nice build. It does get a bit tricky with all the soldering of the wires to and from the PDB to the flight controller but with a good soldering iron (and some patience) this design does end up with a neat build.
Performance-wise - I am not the best pilot and so perhaps not the best judge but it does fly like a beast. You do need to fiddle with the PID tuning to get it flying perfectly but after you have done so, you can sit back and relax… well, maybe not relax as you need to keep your wits about you!
1 Like